Device Encryption
Encrypting your devices is essential to protect them from unauthorized access. Encryption is free, so I recommend encrypting everything you can, just be careful not to forget your password and to keep diligent backups.
I recommend putting priority on encrypting devices that are easily portable, such as phones, laptop computers, and external hard drives or USB sticks. Phones should be encrypted as they get lost and stolen often and contain sensitive information (though if you followed my advice there should be less sensitive data on your phone than most people). Laptops, even if you don’t ever take them off your desk or out of the house, are easy for a thief to steal, so they should be encrypted.
Encrypting phones is easy. Both Android and iOS are automatically encrypted if you assign a lock PIN, pattern, or other form of authentication. I recommended enabling this feature earlier.
Encrypting desktops, laptops, and external hard drives takes a little more effort. Mac devices come with a proprietary encryption program called FileVault. This is relatively secure and easy, so it should work for most people. Some Windows editions also come with an easy-to-use proprietary service called “BitLocker” that should work for those who have it. There are a few considerations with BitLocker, though.
If you’re setting up a new Windows 11 computer (whether upgrading from Windows 10 or buying new), Microsoft makes it extremely difficult to go through the process without using an online Microsoft account. If you do so, your computer will automatically have BitLocker activated but will attempt to back up the recovery keys to Microsoft’s servers. While this is convenient, it also creates a massive security loophole, making your data one breach away from being publicly exposed to any random attacker, and it should be noted that Microsoft’s security track record can be most generously described as “abysmal”.
I recommend against using an online Microsoft account for privacy reasons. You can use this guide to help avoid the requirement to sign in during install. Once that’s done, you can use this guide to set BitLocker up in a way where your recovery keys are stored safely offline. If you wish to use a Microsoft account for any reason, I still suggest storing your keys offline. The same guide should still work during initial install. If you’ve already installed Windows 11 for the first time using a Microsoft account, you will have to decrypt your computer and then re-encrypt it from scratch. The same guide has instructions for this, too.
Most Linux distributions offer the chance to full-disk encrypt your device with LUKS during installation.
For external hard drives, USB sticks, and Windows devices without BitLocker (or if just you don’t want to use a proprietary encryption software like BitLocker or File Vault), then I recommend VeraCrypt. Veracrypt is a free, open source software that allows various forms of encryption. For most of my readers and in most cases, use “full disk encryption,” meaning that the entire device is encrypted completely.
Enabling Full Disk Encryption With VeraCrypt
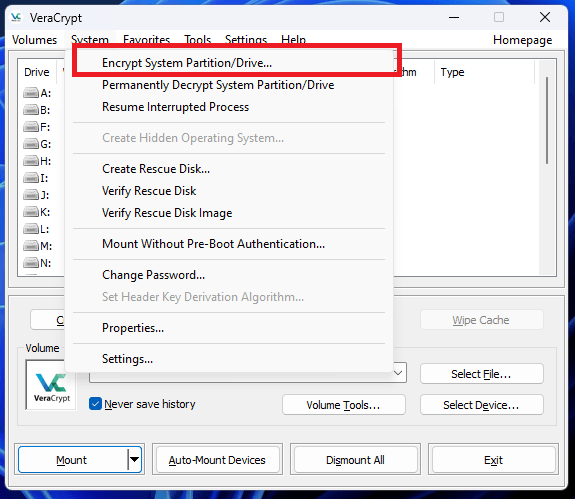
Select the “System” menu and then “Encrypt System Partition/Drive…”
Select “Encrypt a non-system partition/drive”.
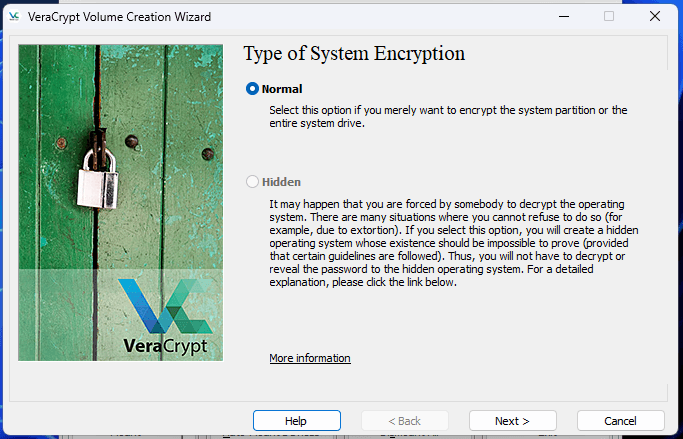
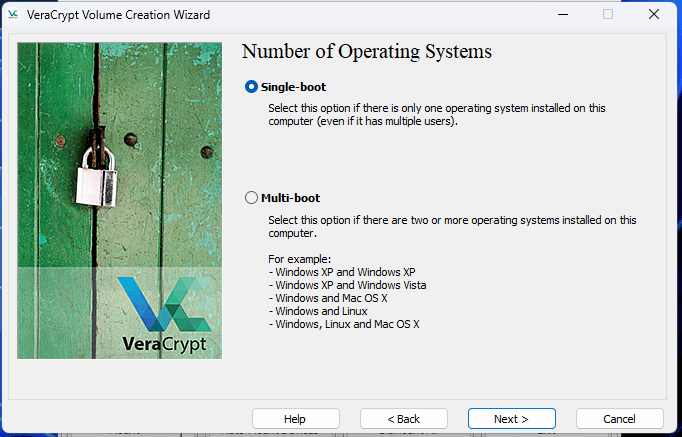
Pick “Normal”.
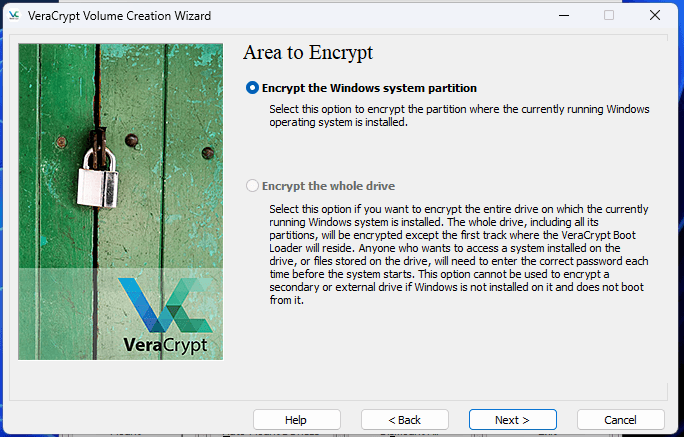
Then “Encrypt the Windows system partition”.
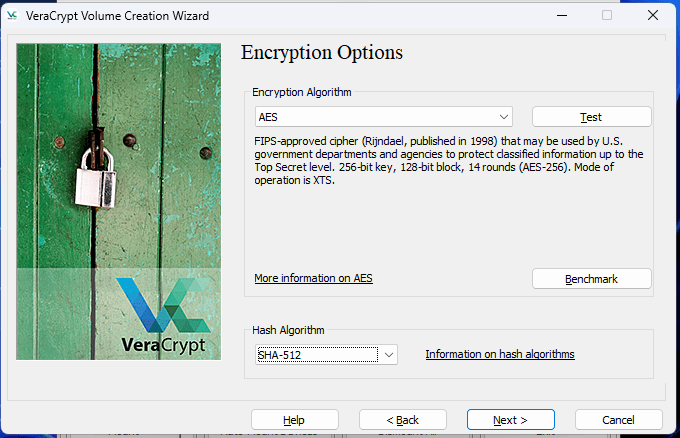
Make sure the algorithms are set to AES and SHA-512
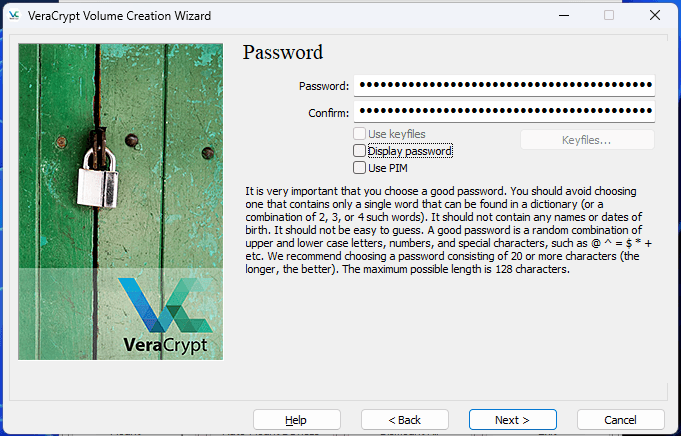
Select a good passphrase.
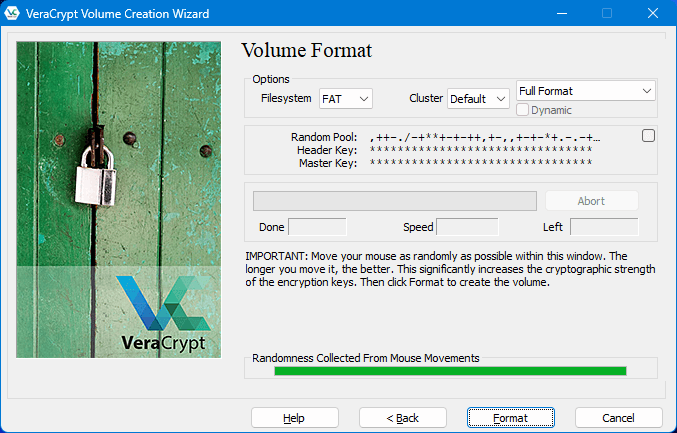
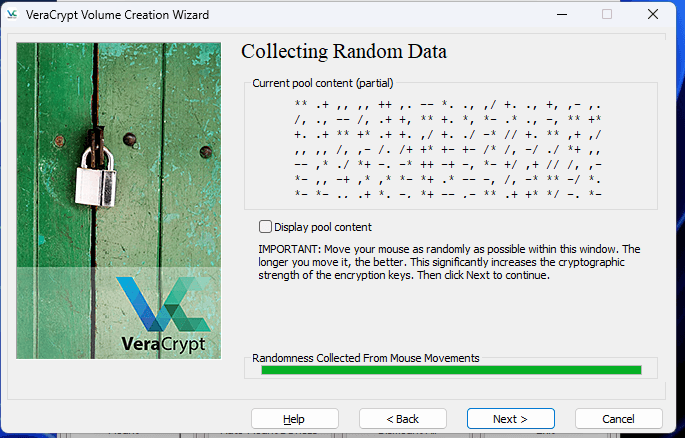
Move your mouse around randomly until the bar at the bottom is full and green, then click “Next”.
Click “Next”.
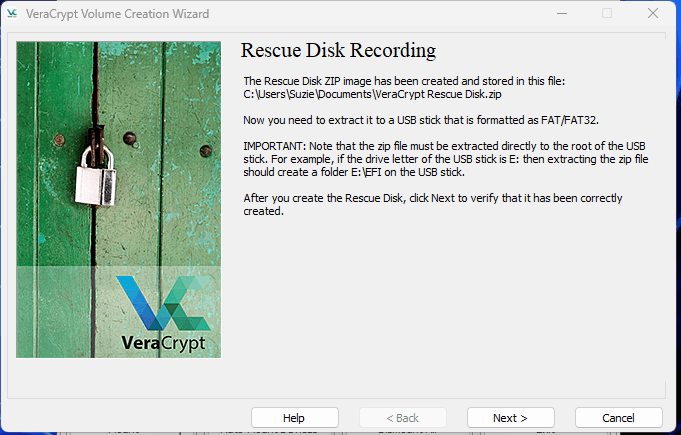
Select a location for the rescue disk.
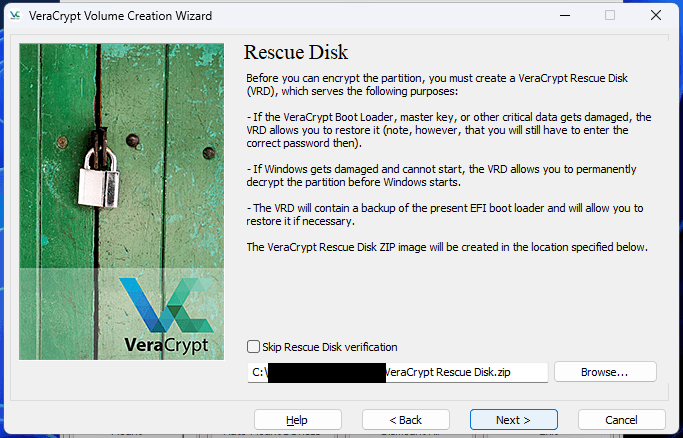
Follow the instructions on this part and store the file and/or USB stick somewhere safe. Even something as simple as a routine update has the potential to go wrong and the only way to recover your data will be to decrypt the drive using this USB.
Once the Recovery Disk has been successfully verified, click “Next”.
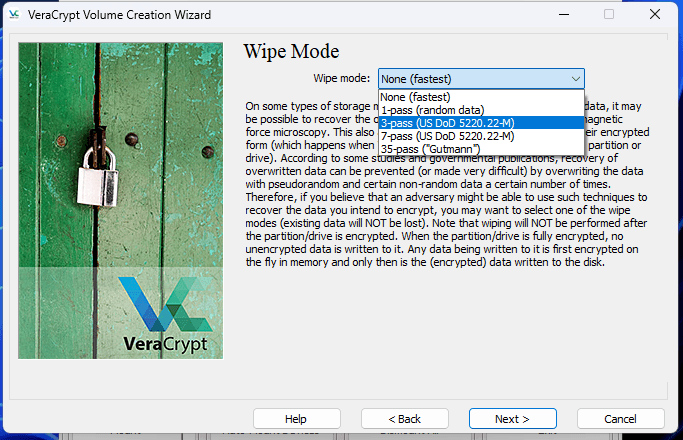
Select a Wipe Mode. For most people, I believe 3-pass will offer the best blend of protection and speed. Be aware that the higher the number, the longer this can take (as explained on the next screen).
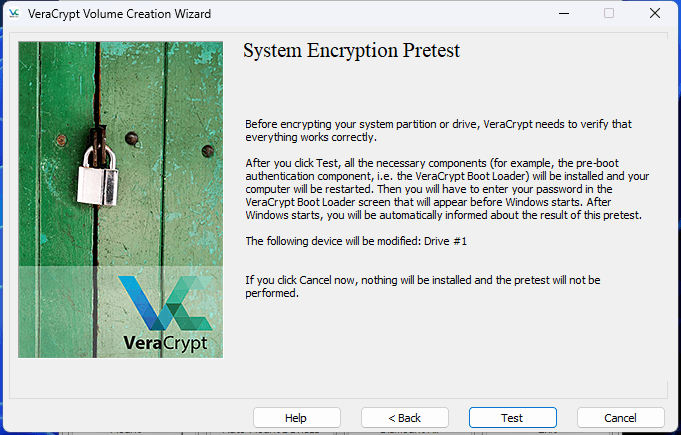
After that, you will be asked to let VeraCrypt test your system to ensure everything is compatible and working properly. When you click “Test”, your system will restart and you will be prompted to enter your encryption passphrase before your computer boots up. In most cases, if the test fails, your system will reboot and cancel the operation. In rare cases, you may need to use your Recovery Disk to fix any issues.
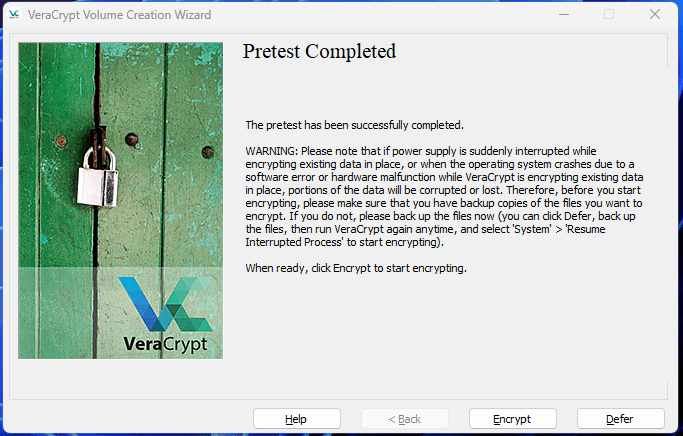
If the test was successful, VeraCrypt will automatically start after logging in and prompt you to begin the encryption process. Make sure you have made a good backup of your files just to be safe, then click “Encrypt” when ready.
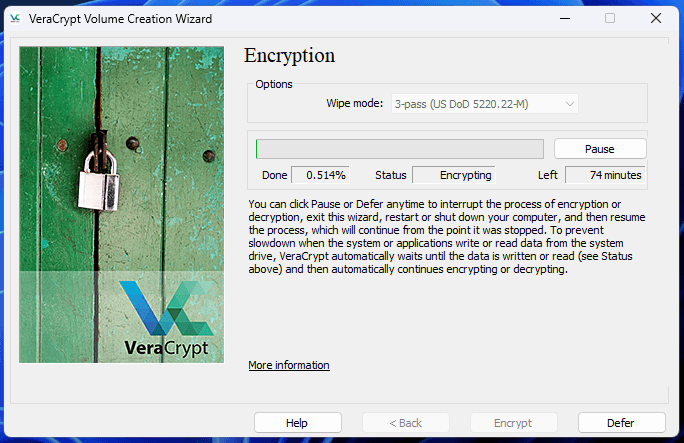
VeraCrypt will begin encrypting your system. Depending on your device and the Wipe Mode, this may take a few minutes or a few hours or longer. If at any point you need to pause the encryption - like to shut down your device - you can hit the “Defer” button and safely resume the process at a later date.
Encrypting External Disks With VeraCrypt
To encrypt external disks - such as backup drives - follow these steps:
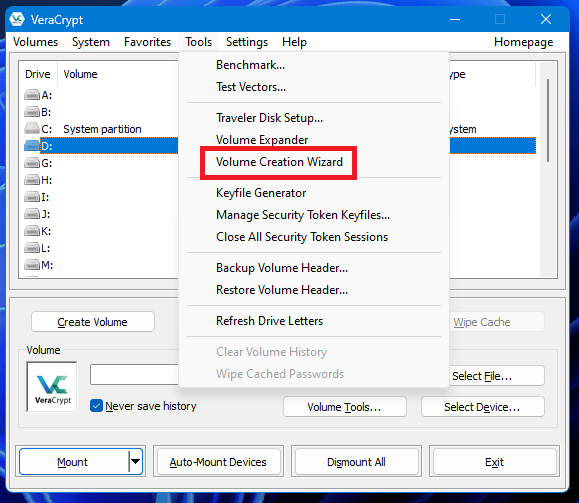
Select the “Tools” menu and then “Volume Creation Wizard”
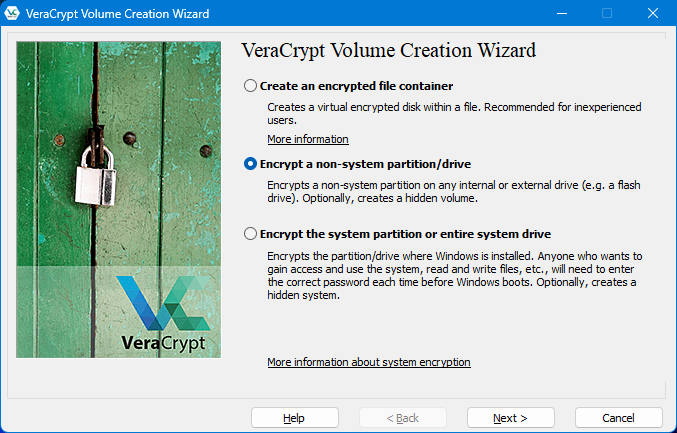
Select “Encrypt a non-system partition/drive”
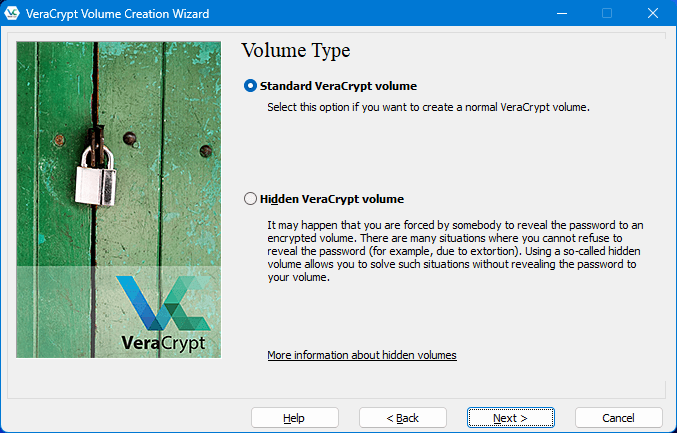
Select “Standard VeraCrypt Volume”
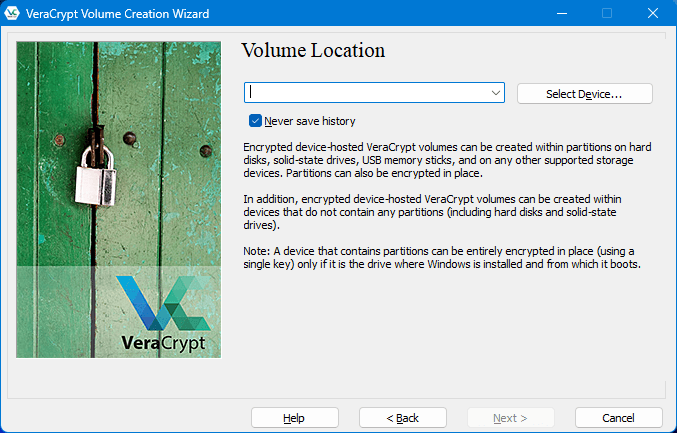
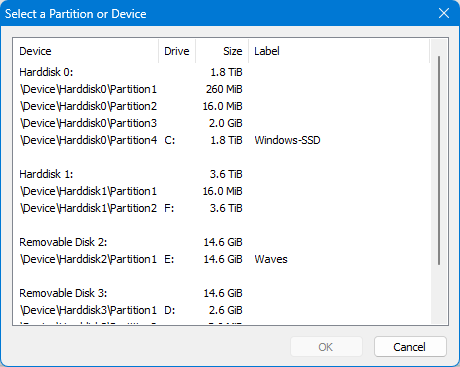
Select “Select Device”
Select the disk and partition you wish to encrypt
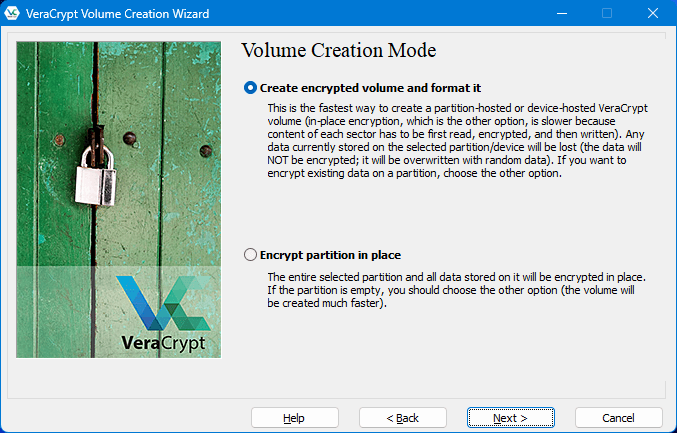
Select “Create encrypted volume and format it” (WARNING: this will wipe all the data already on your disk)
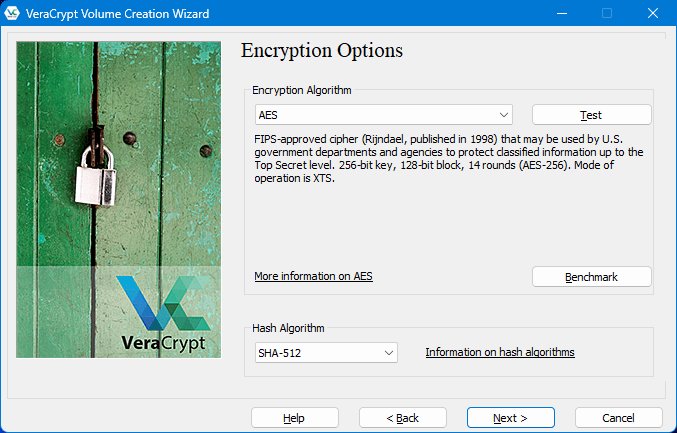
Select “AES” as the Encryption Algorithm and “SHA-512” as the Hash Algorithm
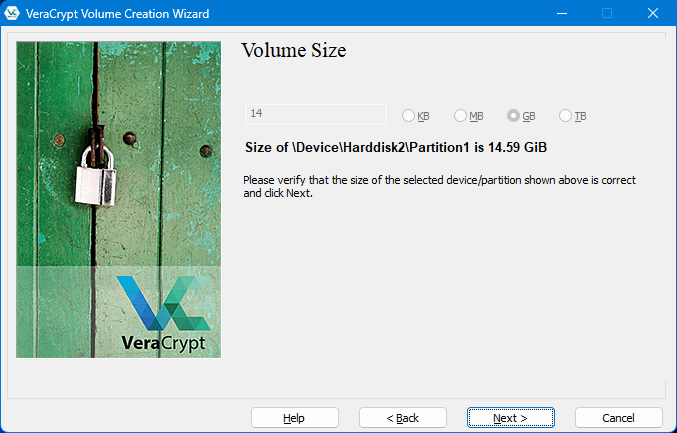
Verify that the disk size is correct (Note that it may be slightly smaller than the advertised space. In this example, my USB stick is advertised as a 16GB. This is normal.)
Select a good password or passphrase
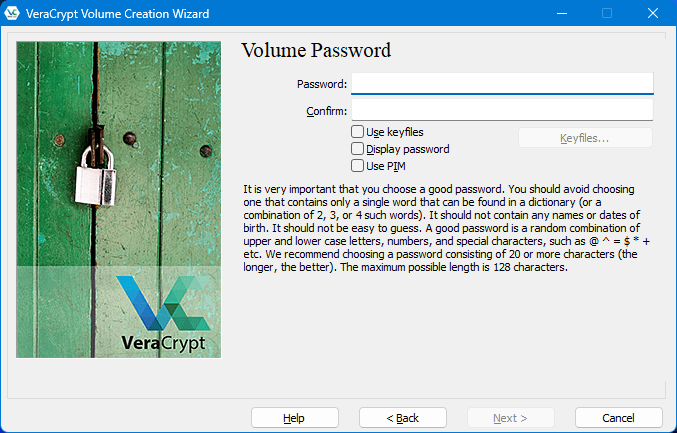
Answer if you’ll need to store large files (such as video) or not

Move your mouse around randomly until the bar at the bottom is full and green, then click “Format.”